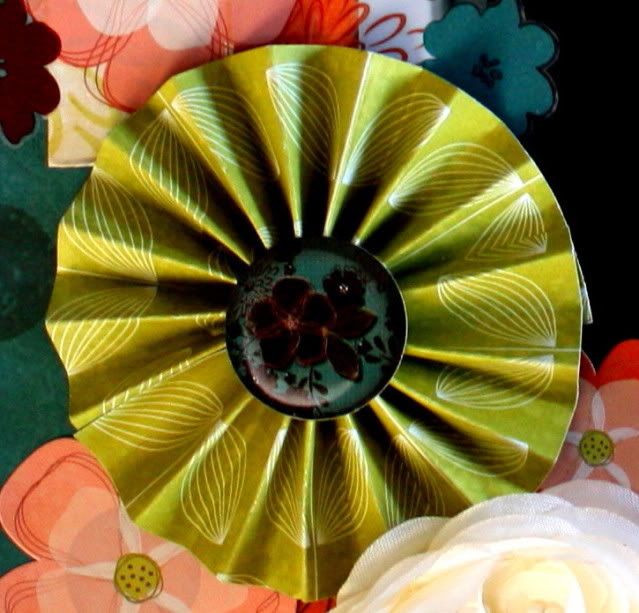
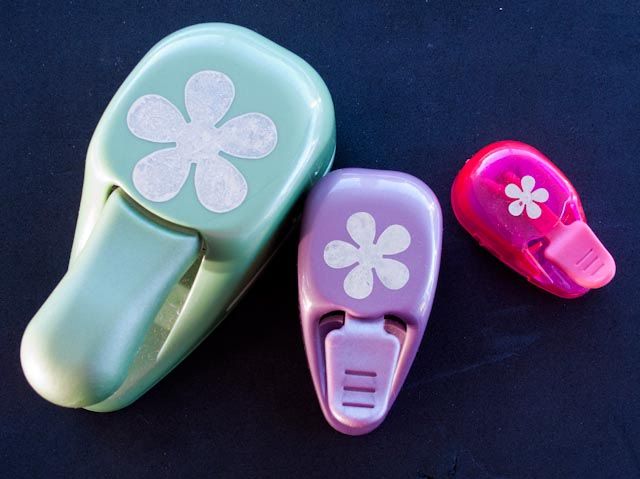
Hi there, Katie here again! Just thought I would pop in and give you a little step-by-step to show you how I made the flowers on my Hippie Girl layout. These flowers are really easy and perfect to make so that you can co-ordinate with each project you do. Best thing they let you dust off an old favourite punch (although of course you are not limited to just using the punch!), the good old "Retro flower punch". Remember that one?! This was one of the first punches that I just had to have, and it seemed to be everywhere for a while, and it came in a series of sizes too.
Ideally you need three nesting sizes of this punch, but you can get away with two sizes. Alternatively if you have another style of nesting flower dies or punches you could use that, or even cut the flowers in the necessary sizes using an electronic die cutting machine. The possibilities are many!

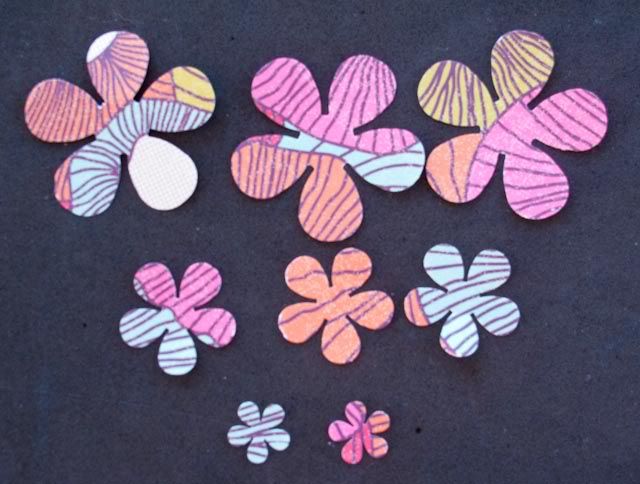
So with your preferred cutting method, you need to cut 3 of the largest size, 3 of the middle size and 2 of the smallest size. So you end up with something a little like this:

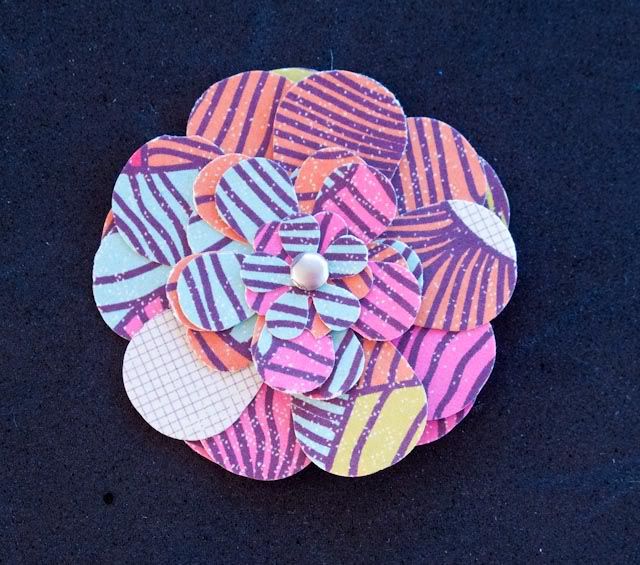
Now you want to stack these together, largest on the bottom of the stack up to smallest on top, off-setting each flower from the one underneath as you go. Then secure them together to get something that looks like this:

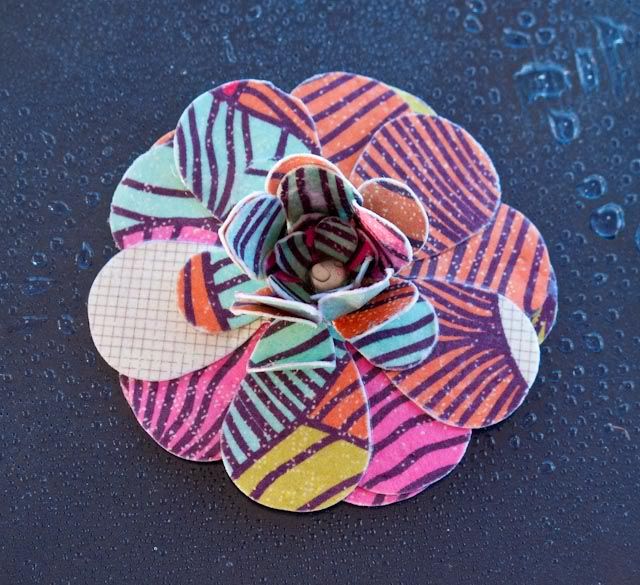
Quite pretty by itself, but we are going to make it so much more beautiful in a couple of easy steps! You want to lightly spray this with water now, and the ranger
mini misters are perfect for this job. Once damp this makes the paper easier to work with. Gently start folding the petals up to the centre starting with the smallest flowers and working your way to the outer petals. You may need to add a little more water to the outer petals as you go.

Then eventually when they have all been folded in you will finish with something a little like this.

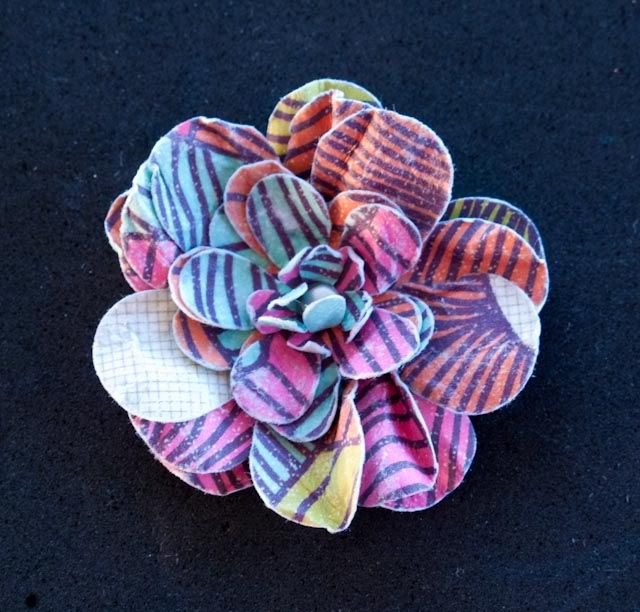
Then we gently start unfolding the flower again. The act of folding and unfolding while the petals were damp helps to give some shape and texture to the petals and of course is much easier to do while damp than when the petals are dry. So finally you should end up with a finished flower that looks a little like this.

As a final touch you could spray some glimmer mist or perfect pearls to give some shine or you could add some Stickles, Kindy Glitz or Dimensional Magic to the petals for more dimension.
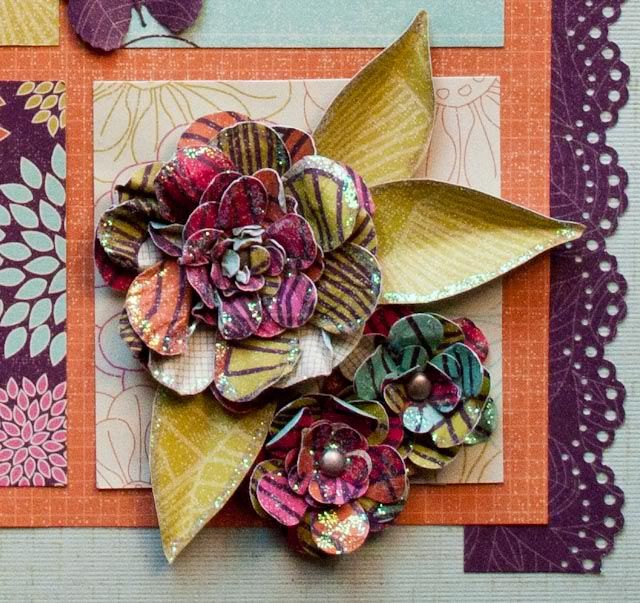
To use this procedure with only two sizes of flowers I used 3 of each size and this created the two smaller flowers on my page.

I just love making my own flowers and it seems to be something everyone is doing. This little tutorial comes from something I read somewhere, so I cannot claim ownership, but I also cannot tell you exactly who came up with the idea. But, it certainly gives plenty of ideas on how to use things we already have and make our own perfect flower embellishments for our projects!
Finally, another reminder to get your layouts done for our
Kaiser Craft challenge. Get on and get a page done and link it up for the chance to win a fantastic pack of Kaiser Craft goodies! You still have about three days to get it done!
Till next time, thanks for dropping by and see you next time.


